I normally wash the ball pit in the bath, scrub it down, rince it well with the handheld shower nozzle. Then I squeeze out the excess water absorbed in the fleece and sun dry.
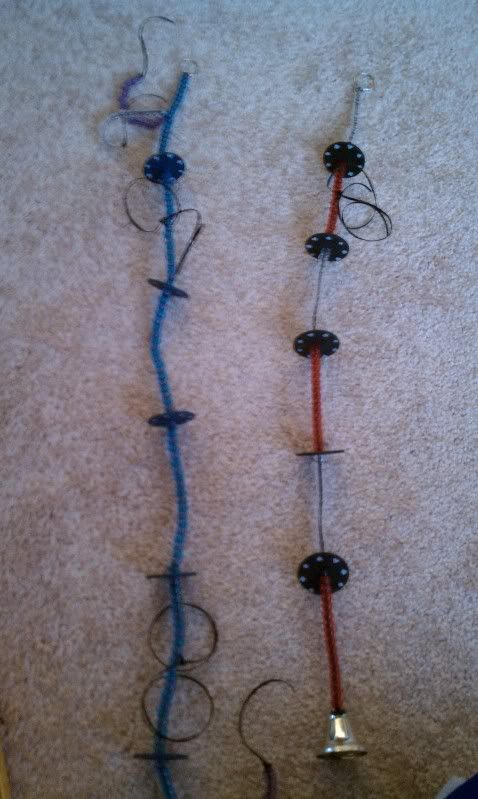
1. Drill 4 holes in the plastic plate, equally apart and opposite from each other. Drill two more additional holes on the plate, one on the far left and one on the far right for the chain with the foraging cups.
2. Attach the 6 x plastic links to the plate, leaving one additional link to attach the 4 chain strings at the top.
3. Attach the 4 x 10 inch chain strings to the links already connected to the plate, and link them together at the top with the remaining link.
4. Attach the remaining two 10 inch chain strings to the links on the plate at the far left and far right. Note that the chain in step 3 should go upwards and the chain in step 4 should go the opposite direction. (downwards)
5. Now you can attach the 4 x 5 inch chain downwards to the 4 equal links on the plate.
6. Attach your character (Shrek) to top link.
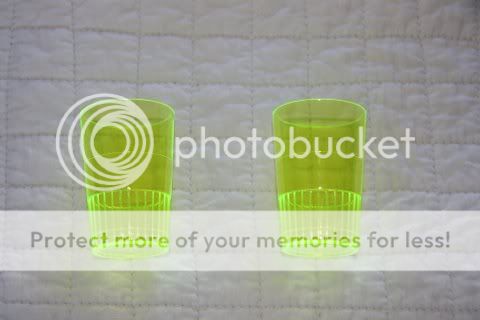
7. Drill holes in your foraging cups and attach them to the 10 inch plastic chain on the far left and far right, bottom of the plate.
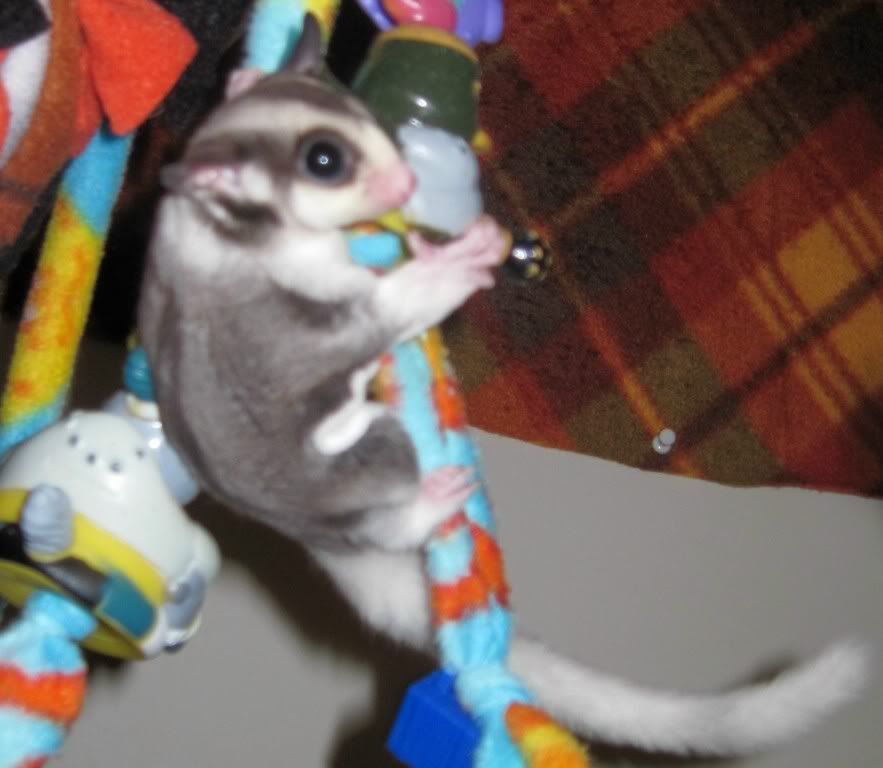
I wasn't able to find my cable to my camera (to upload the instruction pictures). I can either try to explain the steps without pictures or wait until I get the cable. It might be super complicated without the pictures involved. The picture I posted was taken with my camera lol. SOO I will get the instructions posted ASAP!
Erika (AKA ProudParent) & my kids:
Suggie Rocky Killara Willoughby
Re: Re: DO IT YOURSELF - TOYS - PART ONE
[Re: ValkyrieMome]
#1120744 05/29/1102:46 AM05/29/1102:46 AM
Meg - that plastic chain is REALLY expensive! $1.50 a foot! No way!
You can find it so much cheaper! Go to The Sugar Glider Store that Liezl linked - cheaper!
If anyone needs toy parts links - I have tons!
That's for the large chain, not the chain used by Liezl.
From the link that Liezl uses for her chain, it's $1.04 per 2 feet, or 52c per foot. On the site I linked, it's 45c per foot, or 90c per two feet, so the link I posted is actually cheaper.
I wasn't able to find my cable to my camera (to upload the instruction pictures). I can either try to explain the steps without pictures or wait until I get the cable. It might be super complicated without the pictures involved. The picture I posted was taken with my camera lol. SOO I will get the instructions posted ASAP!
THIS ITEM IS NOT TO BE SOLD WITHOUT ASKING ME FIRST!!
OK, I can't find my darn cable! I had made the instructions for a girlfriend, but we just moved so I'm still trying to find everything. SOO I am going to attempt the instructions without the pictures. I found some stuff on Suz no sew accessories that may help my instructions a bit!
1. Get a frisbee, or if you have an old wodent wheel the front/back panels work as well! Drill 5 holes spaced out evenly into the frisbee. If you have the front part of a wodent wheel with the holes for them to enter use that! It makes the trampoline into a little lounger too if you don't make the fabric too taut then it allows the suggies to 'sink' into the holes of the wodent wheel panel. (hope that made sense )
2. Set the frisbee on top of your fabric and cut approximately 3 inches wider all the way around. Cut out two cirlces
3. Pin the two circles around the frisbee. Try to keep the frisbee centered while doing so. Sew all the way around the frisbee sewing as closely to it as you can. Make sure that whatever fabric you want on top is placed on top of the underside of the frisbee (underside of frisbee shown below). This step can be skipped if you do not sew, it is just easier to cut the fabric and keep the frisbee in place.
4. Cut the excess fabric into strips all the way around, be sure to NOT cut into the seams (picture used from suz no sew trampoline).
5. Knot all the strips like so (picture used from suz no sew trampoline). Do this all the way around.
6. Feel the frisbee for the holes that you previously drilled, cut tiny holes all the way through both pieces of fleece (you may need something to push the fabric up through the hole). Do this for each hole.
7. Take the c-links and insert them into the holes in the fabric & frisbee. Take a large tube bead and put it on either end of the c-link. Do this for each drilled hole.
8. Make the c-link tube bead chain as long as you want until it eventually meets in the middle.
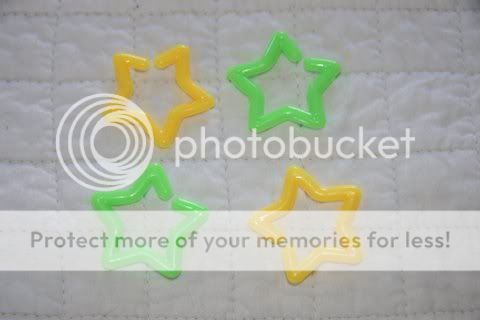
10. Attach 1 c-link tube bead to the underside of the frisbee. You should have room to attach it to the first c-links you put in. Attach a lanyard clip to each of these c-links and then attach the rainbow peace signs.
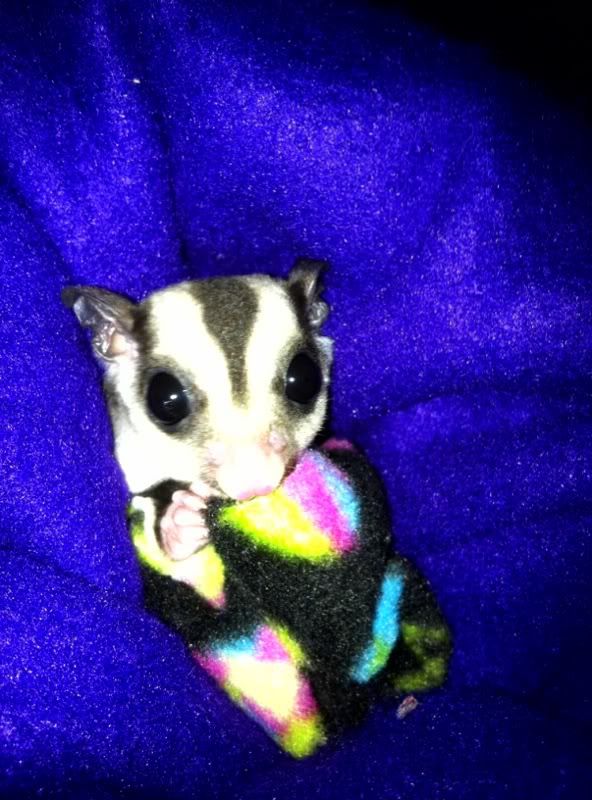
Final product: THIS ITEM IS NOT TO BE SOLD WITHOUT ASKING ME FIRST!!
I apologize for the crummy pictures, they're used from suz's website, a picture of a frisbee found online, and the one final product picture I zoomed in on portions LOL! Additional questions send me a PM!
Erika (AKA ProudParent) & my kids:
Suggie Rocky Killara Willoughby
Re: Re: DO IT YOURSELF - TOYS - PART ONE
[Re: Gizmogirl]
#1121003 05/29/1109:54 PM05/29/1109:54 PM
Erika, Trampoline type toys have been made by MANY different people over the years. There is even a no sew version on Suz's website. I've even made some very similar but I used chain instead of c links.
I'm sorry but I doubt you'll get to hold any "exclusive" right to that one.
620-704-9109 Judge not until you have walked in their shoes and lived their lives. What you see online is only part of the story.
I could have missed the pain But I'd of had to miss the dance
The soul would have no rainbow if the eyes had no tears.
Re: Re: DO IT YOURSELF - TOYS - PART ONE
[Re: Dancing]
#1121005 05/29/1110:07 PM05/29/1110:07 PM
Erika, Trampoline type toys have been made by MANY different people over the years. There is even a no sew version on Suz's website. I've even made some very similar but I used chain instead of c links.
I'm sorry but I doubt you'll get to hold any "exclusive" right to that one.
I know that, I would just prefer that the peace signs not be put on if people want to sell it they can. It just took A LONG time for me to find those peace signs. I put it on every one that I make. I'm not trying to hold any claims to the idea itself, just to putting those peace signs on it and then selling it. Does that make sense? I know it sounds weird lol, but I searched for peace signs that would fit onto lanyard clips for a few months. SOO, in other words, I do not care if people make this and sell it, just don't put the peace signs on there.. it's my little trade mark.. stupid I know.
JMO, but peace signs have been used before, so I personally don't think it's original enough for people to need to get your permission to put peace signs on their trampolines and sell 'em..
~*Sara*~
"And the day came when the risk to remain tight in a bud was more painful than the risk it took to blossom." ~Anais Nin